Perun Airsoft MOSFET For The P90 AEG
ROEthan
18 Dec 2022
For years the P90 has been a very popular CQB gun on the airsoft field, but personally I’ve never even considered one because of the clunky trigger which I could never get on with. When I tried the new P90 MOSFET from Perun Airsoft I was pleasantly surprised. Because the original trigger bar is removed completely, this feels as snappy and smooth as an M4 trigger.
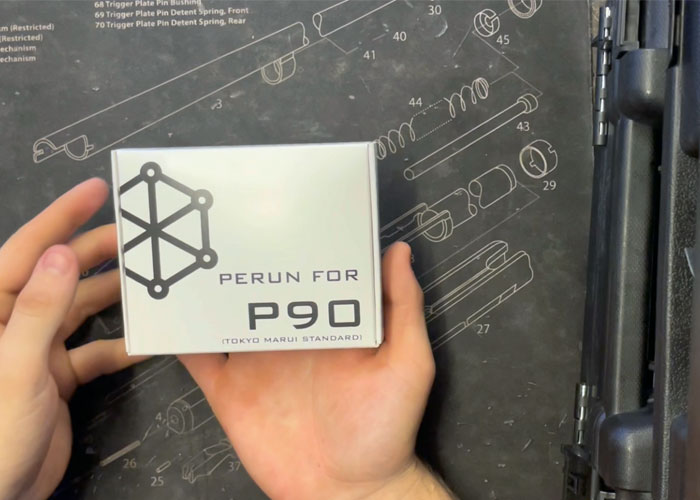
I installed the MOSFET into a Double Bell P90 which retails at £120. Due to it being so inexpensive, I wasn’t expecting much at all, but I must say I am extremely impressed at the quality and how much of an improvement the PERUN P90 MOSFET made. I would now consider it a great option for any CQB situation. The PERUN instructions were extremely clear as usual and I do really like the fact that it’s just a QR Code linking you to digital instructions.

Inside the box are the MOSFET/ Trigger Unit, the program board, the correct mounting bolts, and wiring. It was pre-wired to Deans, so no soldering is required. As mentioned before, the instructions are found by scanning a QR code. This QR code is on a sticker along with another sticker for the programming options/ instructions. This is extremely useful as you can just stick it to your gun case for, if any, last-minute programming that is required on a game day. There is also a programming instruction card that will fit into your wallet in case your stickers fall off. This makes it convenient for you in case you have to consult the instructions manual when there is no internet connection at the game site.

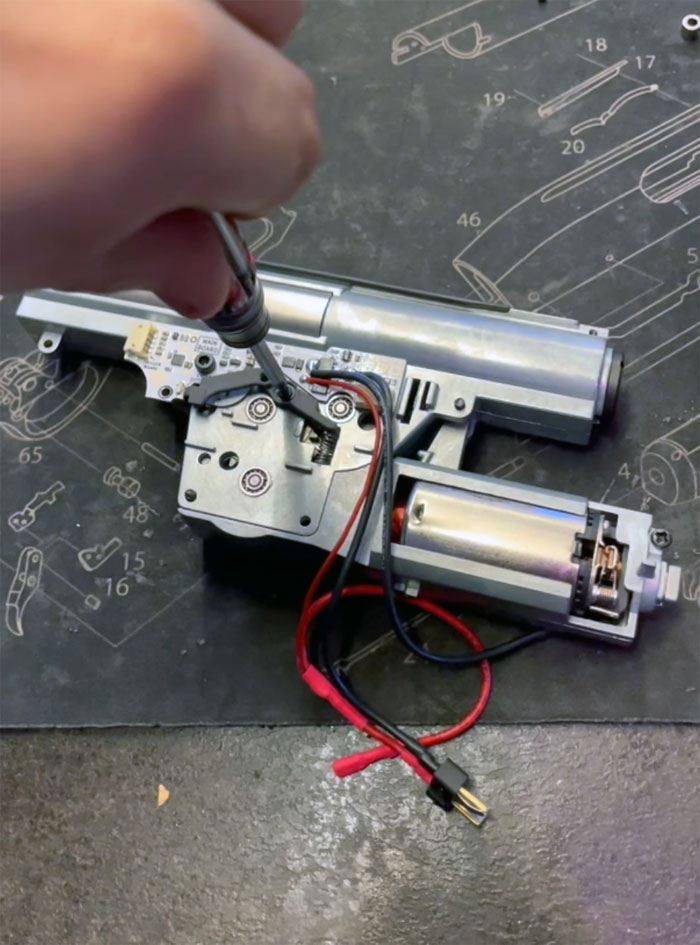
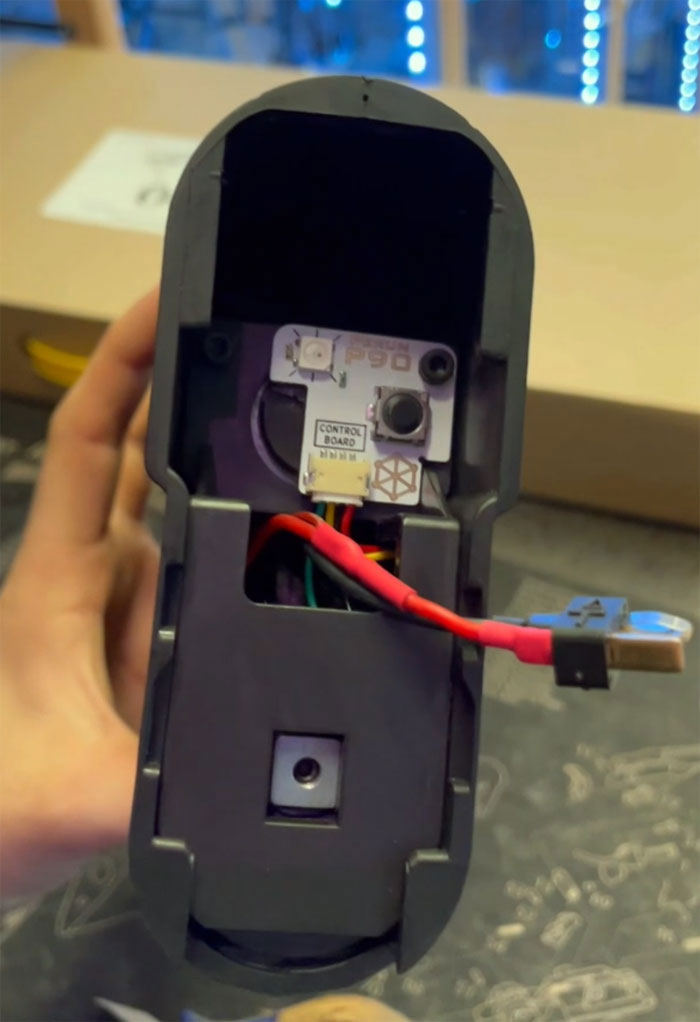
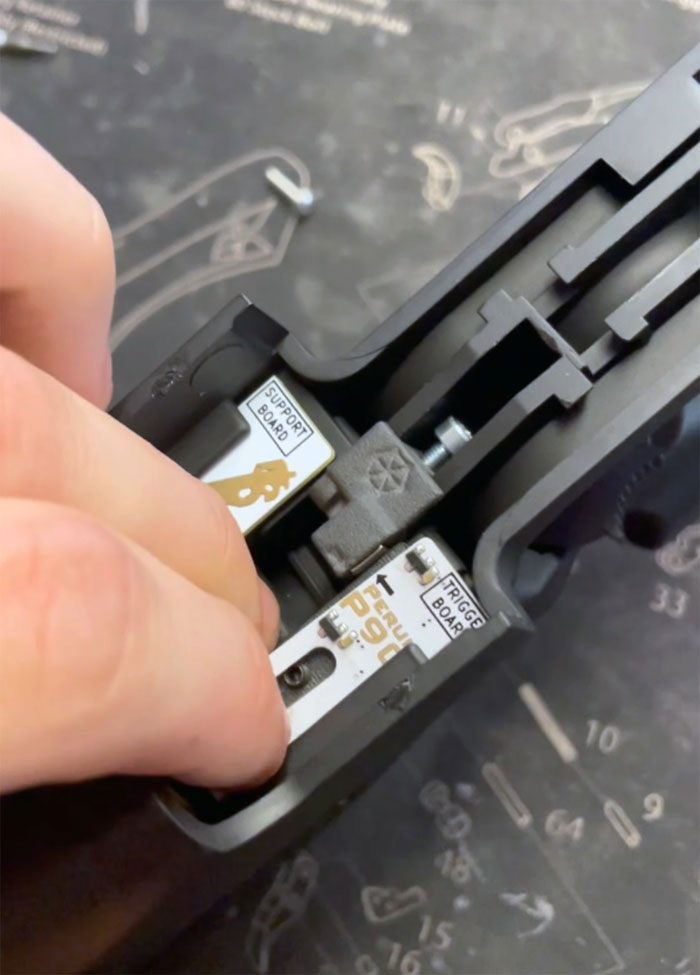
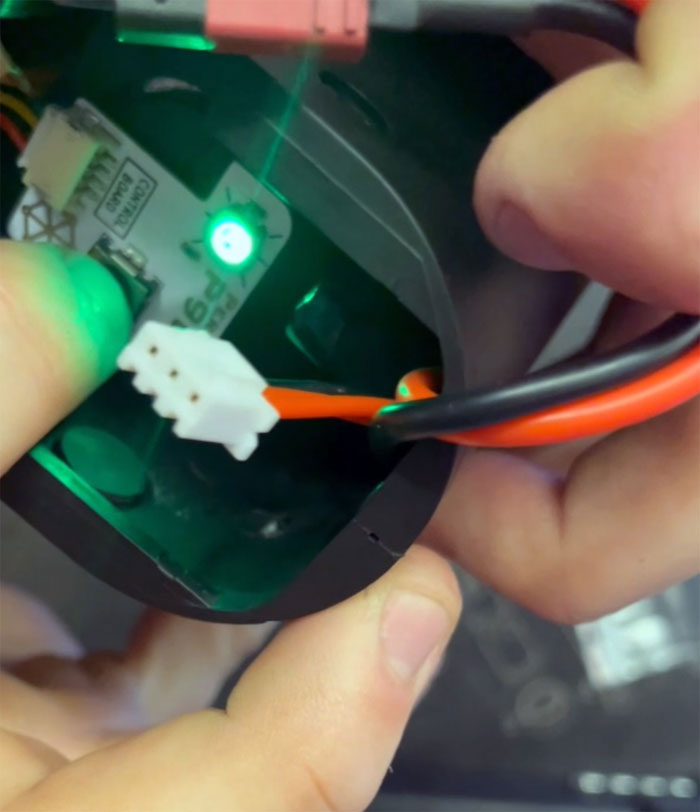
The install itself is extremely simple because of how nice the P90s are to work on. Just a couple bolts out the back and the gearbox slides out. Once this is done, the P90 trigger unit can be removed without having to open the gearbox at all along with the cut off lever. From there, you install the PERUN trigger board and cut-off lever. Once all cables are plugged in, the gearbox can be placed back in the body, ensuring the signal wire is poked through the front toward the trigger. Then fasten the back plate on the gearbox, stopping it form just sliding around and place the programming board on the plate with the rear signal wire plugged in to it. Next step is to place the magnet onto the P90 trigger, it should still be able to move freely. Slot in the mount for the magnet sensor, it will wobble a bit but once the magnet sensor is installed, it will be nice and firm. Ensure the rear of the magnet is in line with the black arrow on the sensor board. With that done, program the trigger to how you like it and then you’re all set!

Overall, the MOSFET has transformed the P90. The RPS is now 19.1 compared to the original 12 and it grants the option to program a 2-stage trigger, pre-cocking, 3-10 BB round burst, binary trigger and many more! Not to mention the much improved snappier and smoother feeling trigger.
For P90 AEG lovers needing a MOSFET, this is the only one in the market. The other option is to buy the Krytac EMG P90 AEG which comes with a MOSFET pre-installed and the upcoming Tokyo Marui P90 With the PLUS FET System. But if you are already a P90 owner, then getting the Perun P90 MOSFET is a cheaper way.
Many thanks to Perun Airsoft for providing the review unit.