Photos for Airsoft Reviews? Here's how...
Ogre
21 Nov 2008
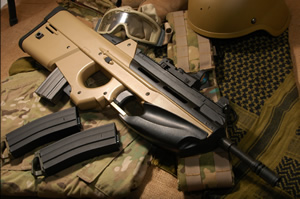
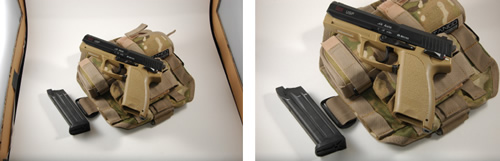
The above image for example is a JLS FN2000, I wanted to make it more appealing while keeping the focus of attention on the AEG itself.
So, here’s what I did:
- I wanted to use a background that would complement the AEG, so I went for Multicam since the AEG is predominantly tan. I could also have used tan but Multicam introduces contrast between the background and foreground. Then I spruced it up some more by adding a few more accessories, like tan boots, goggles and helmet;
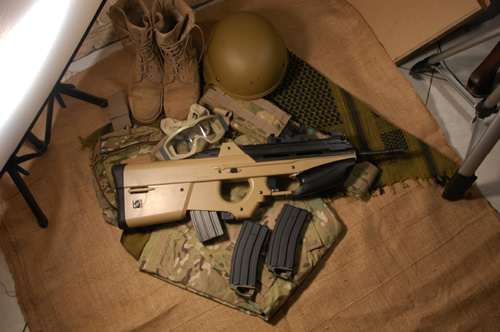
- Lighting is important; it’s also a tool to put emphasis on the subject. I didn’t want to use on-camera flash, I find the result rather “harsh” plus it introduces a lot of “hot spots”. I setup my light at the upper left corner of the frame to introduce directional lighting and shadow for a more three-dimensional image. To make the light softer, I used a translucent white diffusion panel. It may sound complete, but there are alternatives to lighting that won’t break the bank;
- Photographing the subject, you have the luxury of time. Take several shots from different angles and perspectives, especially those that would interest your audience; and
- When you’re done taking photos, look at each and every photo and choose one that works.
Lighting setup
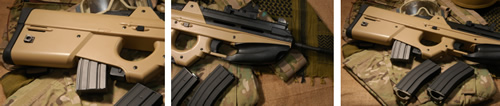
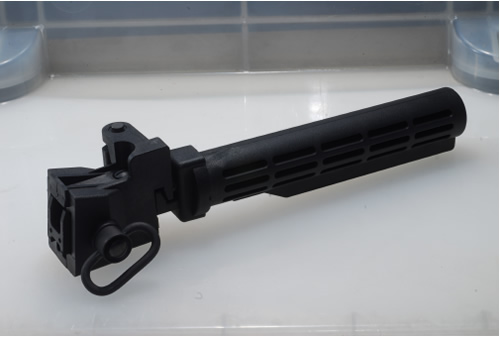
Angle
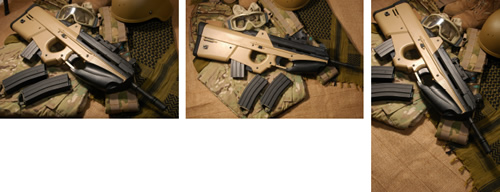
and details
What if you didn’t have any of these available? Your nearest hardware and office supply store might just be able to help you. In place of a flash head, you can use a desk lamp. I find compact fluorescent bulbs are bright enough for such, I saw a 50w CFL that produces 3000 lumens. For a diffuser, tracing paper does the job just as good. If you want to control the intensity of the light, you can control this by changing the distance of your lamp, be creative, you can even cast different shaped shadows if you wish to.
For smaller subjects, you can build what we call a light tent.

Simple to construct, you need a big enough box, a couple sheet of tracing paper and some paper as your backdrop.
Images taken with a DIY Light Tent
Alternatively, you can purchase a white translucent storage box big enough for your subject. I have yet to find one big enough for an entire AEG though.
What if you only have a point-and-shoot (PnS) available? No worries, we have that covered too. Same thing applies whether you use a desk lamp or a flash head.
Taken with a digital SLR
Taken with a PnS
I've taken a few shots with a PnS camera. I still prefer using a digital SLRs as I find these easier to control (I have trouble looking for the "press-here-stupid" button on PnS cameras. You should see me look foolish while I try to figure out the controls).
Here’s a few photos I took with a point and shoot (Pentax Optio S5i):
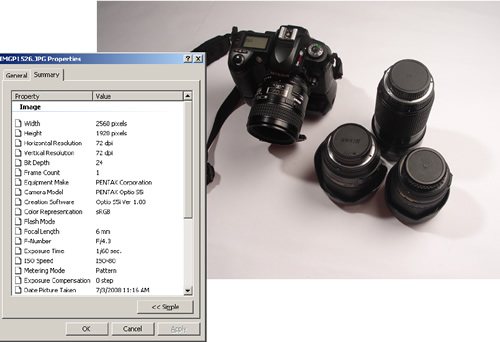
And a macro/close-up photo of the camera and lenses:
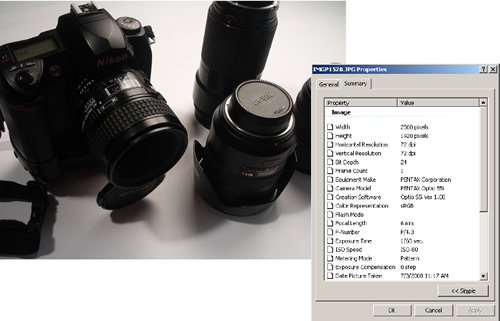
My digital SLR on-camera flash was set to 1/16 power, enough to trigger the strobes but not enough to affect the image. On the PnS however, no such power setting was available, but it worked nonetheless. I did however cover the on-camera flash with my finger, to prevent the on-camera flash from affecting the image, especially when shooting macro/close-up. I would however recommend using a tripod with your PnS, especially when using desk lamps, it might require a longer exposure time than usual.
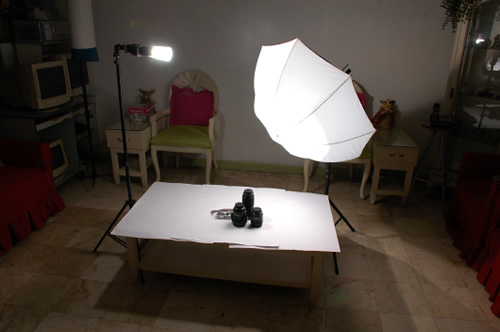
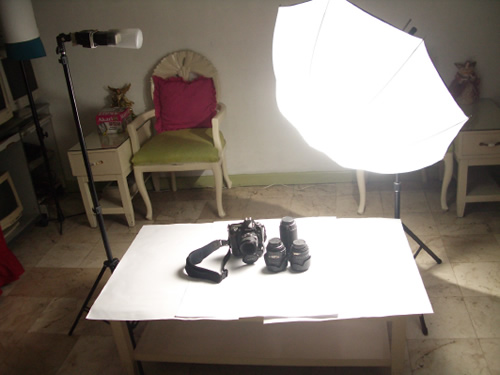
Here's my usual lighting setup these days. We’ve agreed in Popular Airsoft to use a white background:
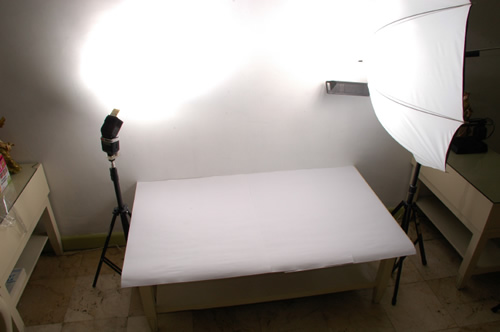
It consists of the following:
- 2 x Nikon speed lights
- One bounced towards the wall (sb28 with an optical trigger)
- One with a shoot-through umbrella (sb800 in SU4 mode, optical trigger)
- Both are set on manual, power depends on my taste
- Camera (Nikon D70s) set to
- flash white balance
- ISO 200
- shutter 1/500 (camera’s sync speed)
- aperture depends on what I need
- 60mm macro or an 18-135mm lens, depending on my needs
- 3 pcs of white cartolina spread over the coffee table
There you have it. Wasn't so difficult was it? If you want do some further reading, try looking at the following websites:
- http://strobist.blogspot.com/ - teaches a great deal about lighting
- http://www.pbase.com/wlhuber/light_box_light_tent - perfect DIY for a light tent