Setting Up & Controlling IR Laser Module
OptimusPrime
04 Nov 2025
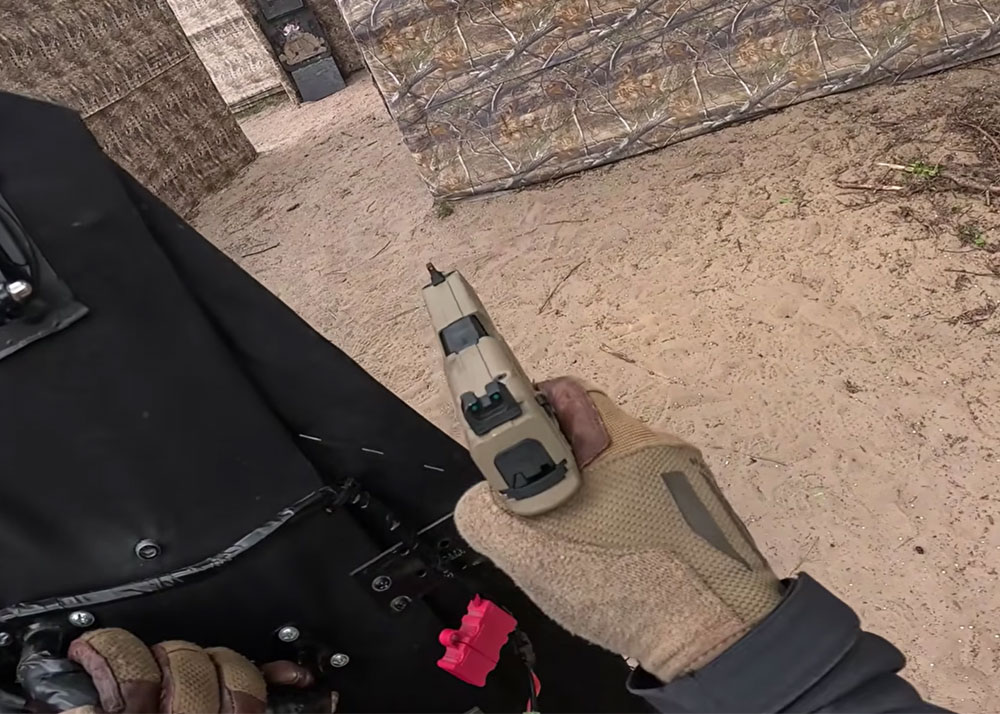
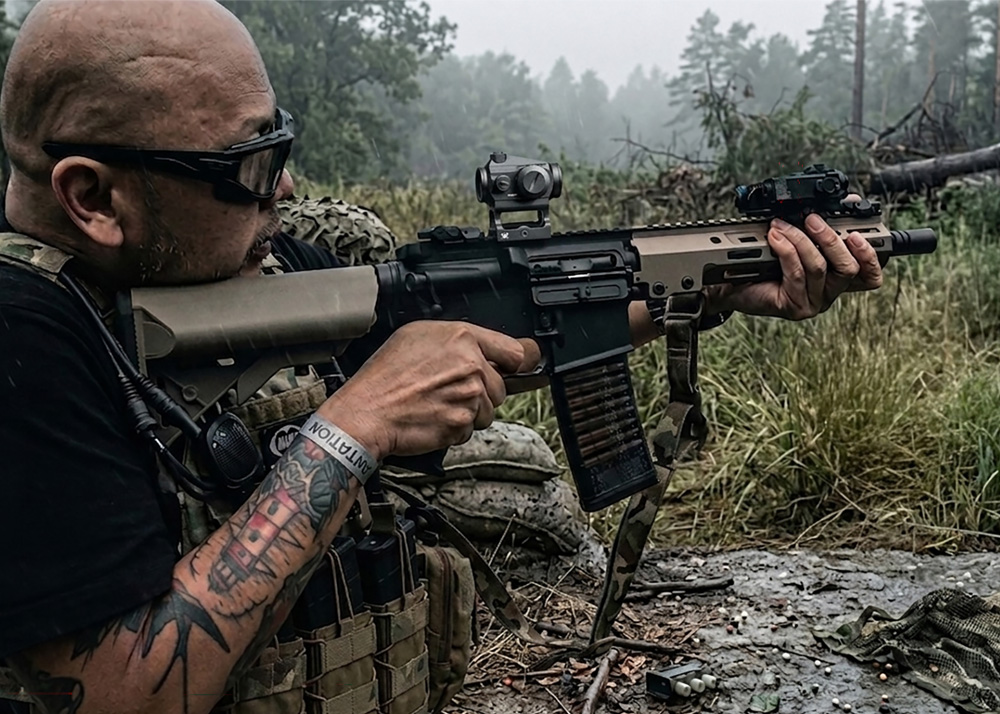
Hop shows configurations for IR laser aiming modules, weapon lights, and their activation switches on a rifle. His preferred setup utilizes an IR laser (like a DBAL i2), a weapon light, and a dual-lead tape switch mounted on a vertical grip-equipped rifle. The ideal switch placement has the white light button forward for immediate access during a normal firing grip, and the laser button to the rear, reserved for a conscious shift when shooting with night vision. A key rationale for using a remote tape switch is that it acts as a "sacrificial layer," protecting the expensive, potentially irreplaceable, onboard fire button of the laser unit from wear and failure.
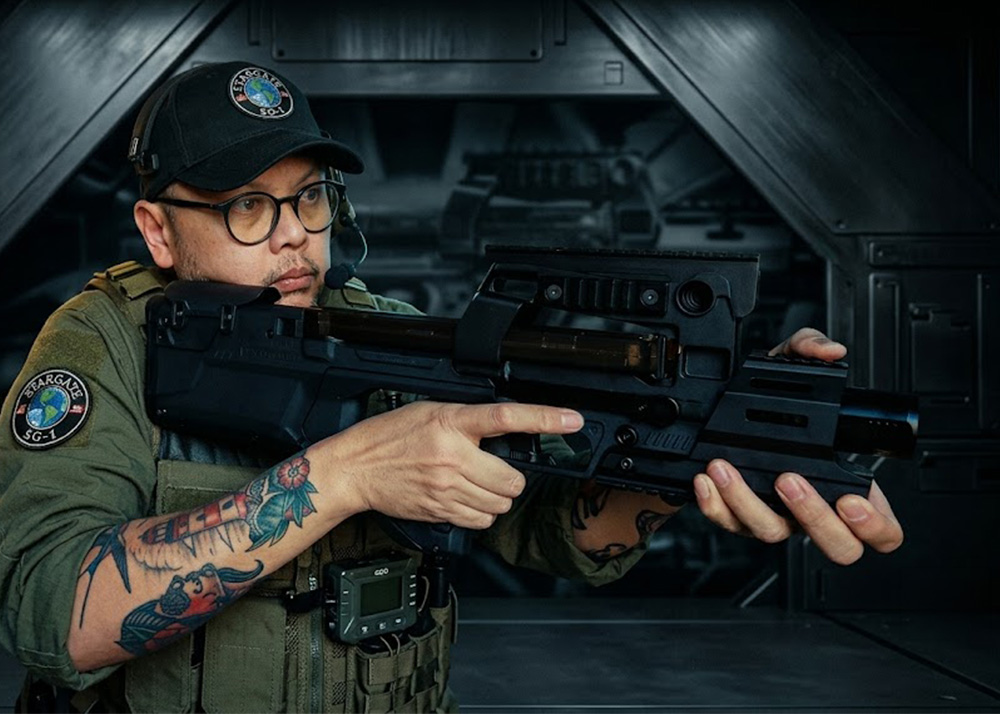
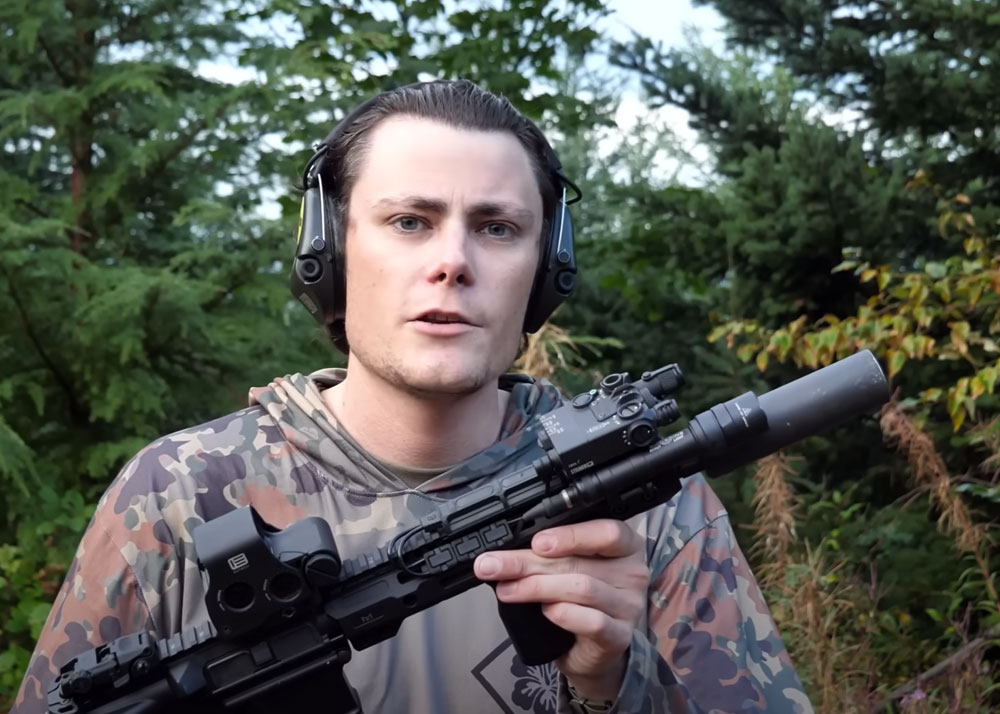
From there, he explores alternative setups, especially for rifles with limited rail space (where approximately nine inches is ideal for the preferred setup). For shorter handguards or lasers with robust onboard buttons (like the MAWL or DI-IR series), the configuration shifts to using the laser's onboard button and a single remote switch for the white light. What Hop recommends all-in-one integrated units, such as the CTF-3 or Laser Speed M6TRV, for very short handguards (e.g., 7 inches). These devices consolidate the laser, IR illuminator, and white light into a single compact unit, drastically reducing the required rail space and simplifying activation by eliminating the need for multiple remote switches.