Guinness Guide to Aging Your Weapon: Part 2
filAKairsoft
18 Jun 2008
Second installment now here --- Part II will present my method for creating a 'worn' look on metal Airsoft replica guns. The goal is the replicate the wear and patina of battle-hardened weapons to add authenticity and feel to your Airsoft period reenacting impression.Many of us invest a lot of time, effort and creativity to make sure our clothing and gear is as correct and as authentic as possible, this process allows you to carry that over to your weapons system.
First a note: It would be easy and somewhat 'logical' I suppose to just bang and scrape the heck out of a metal replica to achieve the use and abuse that a rifle or handgun would receive over it's service life, however if you research weapons pictures that have been used or are being used in the field, you will seldom see guns that appear as though they have just been run through a wood chipper and put back in the gun rack. While 'scratches' are certainly a part of natural wear, what is more common is the fading or 'silvering' effect that comes from the greases and oils from hands or equipment used with these weapons. Leather holsters rub and wear down corners and leading edges from use. The acidic oils on our hands or faces will interact with gun metals and woods to change the appearance over time. Gouges and scratches are generally limited to the 'protruding' edges of a rifle such as the leading edge of an M16 gunsight, or the casing bulge, etc.
The best advice for anyone wishing to create this effect on their gun is to start by searching images of their particular weapon on the web, find as many pictures as you can to get an idea of how 'real guns' age and wear, then decide how much wear is appropriate for your weapon. Consult this guide for tips on how I did it. As usual feel free to ask me questions.
Let your creativity flow and have fun!
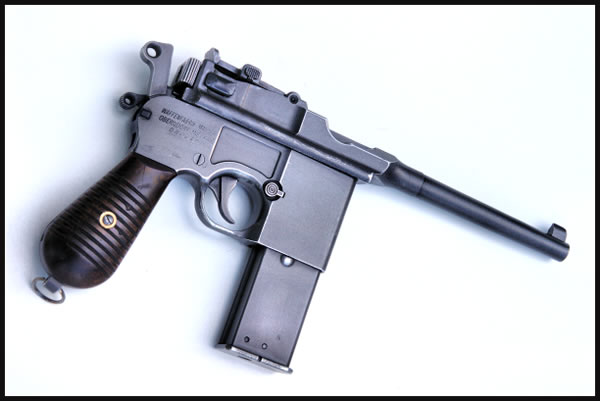
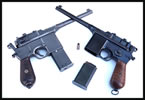
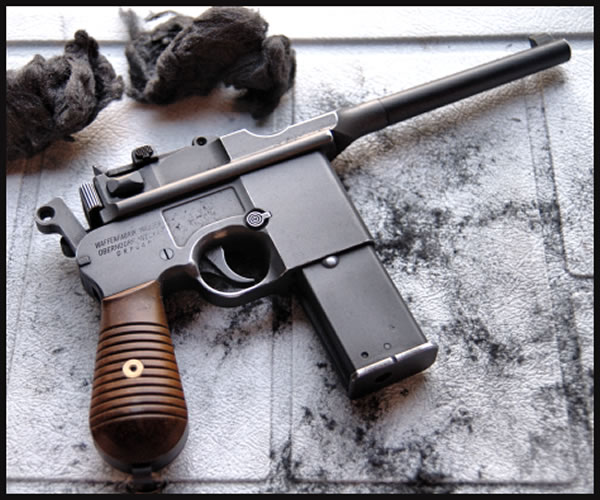
Photo above: Finished veteran Mauser
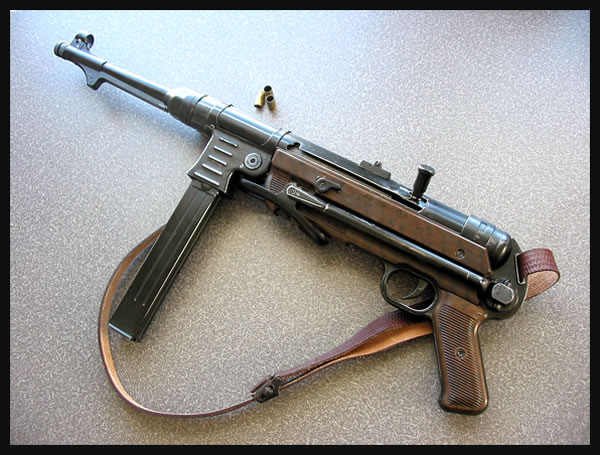
Photo above: Finished veteran MP40
The Process...
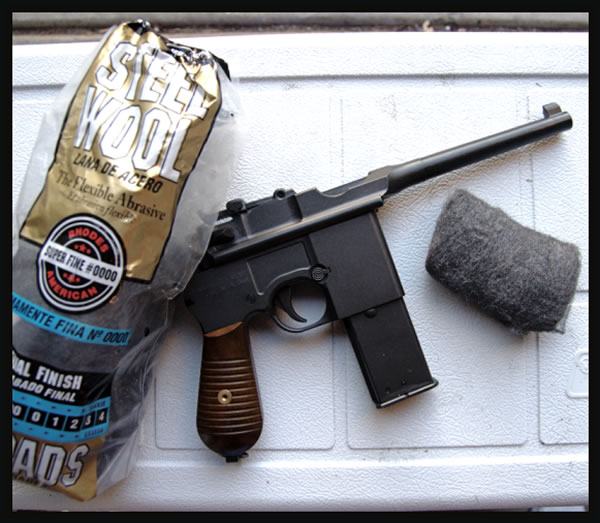
Photo above: HFC Broomhandle Mauser prior to weathering with bag of 'steel wool' pads
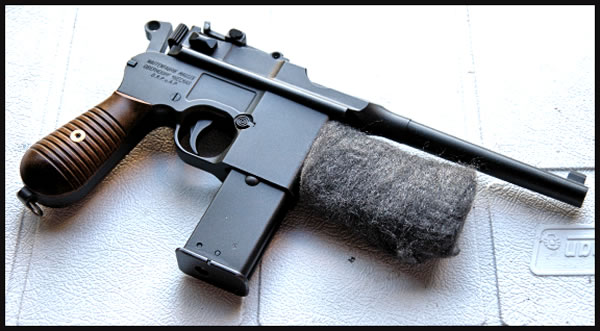
Photo above: Metal HFC Broomhandle Mauser before weathering process
Step 1 - Steel Wool
The types of metal used by Airsoft manufacturers varies with the most prevalent beingso-called 'pot metal' which is a term given to an alloy of zinc and other metals (aluminum, copper, iron, magnesium, lead, zinc and other common metals) combined to form a reasonably sturdy, but mostly cheap, cost effective material for toy and parts.
Higher quality metals such as painted aluminum are also used in Airsoft replicas and more and more even steel is being used.
I begin the aging step on all my metal weapon projects using steel wool pads that are available from any hardware store for about $5 to $8 dollars a bag.
Steel wool is 'softer' and less abrasive than a sanding pad or fine grit sandpaper which makes it an excellent place to start the process. Until you gain experience and have a few projects under your belt its always a good idea to begin gradually, making small improvements or changes rather than drastic ones. Obviously if you make a mistake early on and 'ruin' your gun it will be frustrating and could be expensive or even impossible to reverse or repair.
Notice how the color and cast of the Broomhandle changed from a darker, almost blue color in the first 'pre-aging' pictures to a more authentic light grey after the steel wool application.
Beginning weathering.
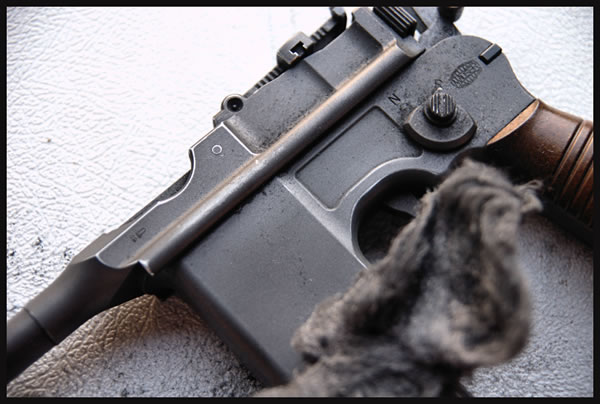
Photo above: Closeup of Broomhandle, using steel wool

Photo above: During process, using steel wool
Application:
Steel wool is great for buffing and will even out poorly applied finishes on many metal guns. It will bring out an authentic shine if used on the chalky finishes of many metal slide and frame kits for pistols.
Steel wool is also great for gradually removing paint from corners and leading edges of the gun as you move from simply 'buffing' a finish to a more aggressive aging effect.
The amount of buffing you chose to do depends on how 'old' or worn you wish to make the gun appear. Again, I prefer to move gradually. I have gone 'to far' on enough occasions that I have learned my lesson.
When buffing with steel wool, or lightly sanding with a sanding pad or a dremel, pay attention to the areas where you haold the gun and the controls. Buffing mag release buttons or hammers and trigger faces is correct as these places will naturally see the most use.
It's a good idea to have a can of matching paint or gunmetal paint handy for mistakes.
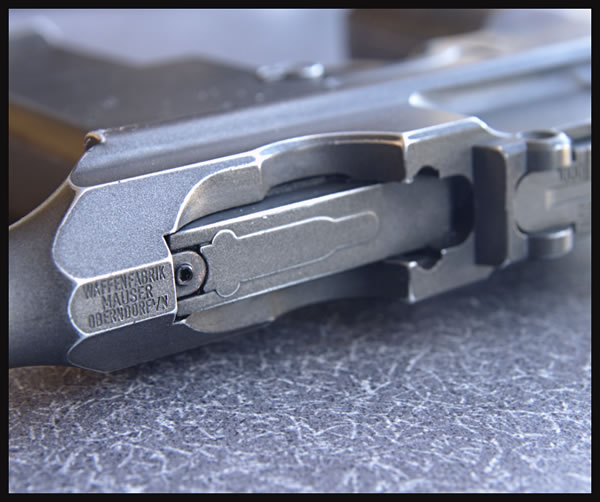
Photo above: During process, using steel wool to wear edges
Step 2 - Distressing
Just like the process for 'distressing' wood stocks, I use common tools to create any gouges or scratches that I have decided to add to a metal replica. When working on my Mauser Broomhandle project, adding a few scratches and nicks seemed right, but I would likely never do this to a 1911 or even a rifle for that matter.
Again compare as many real-steel pictures as you can find as a guide.
Application:
Aging and distressing tools I use for metal replicas:
- File
- Screwdriver
- Tack
- Hammer
- Dremel
- Sanding pad
- Steel Wool Pads
If you decide a scratch or gouge is what your replica needs, always follow up and go over the area and buff with a steel wool pad to remove any sharp edges or burrs.
Remember: You are recreating the finish or appearance of a used weapon- Rough edges are generally worn down over time and with use.
I still depend on good 'ol steel wool to do most of the work, however the Dremel is a very handy tool to have for this type of work. Be careful though, like a rough sandpaper or sanding block, the dremel can work too fast and make too drastic a change if not used carefully.
Dremels are especially effective on metal replicas for quickly sanding down corners and shining up finishes. Again, use caution.
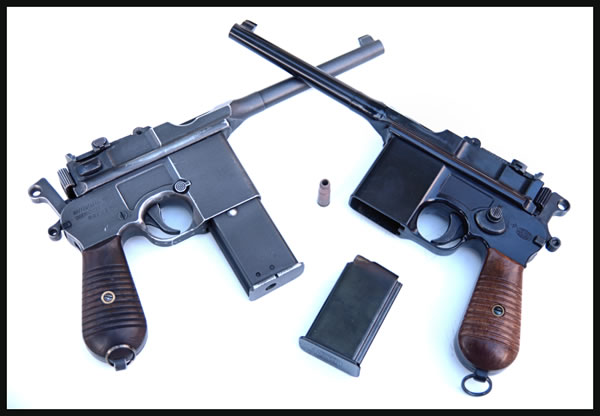
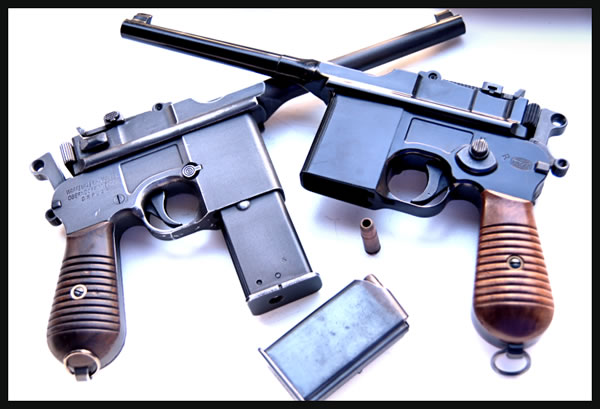
Photo above: Battle Worn' Mauser with Marushin 'blued' Mauser
And finally, here are some "before" and "after" pictures of the MP40 following the same process:
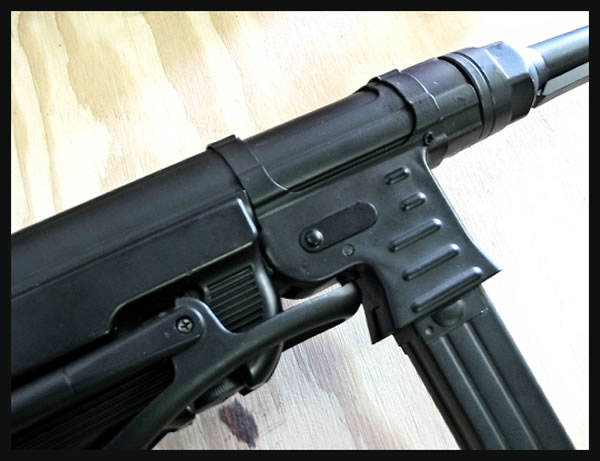
Photo above: Right Side closeup -Before-
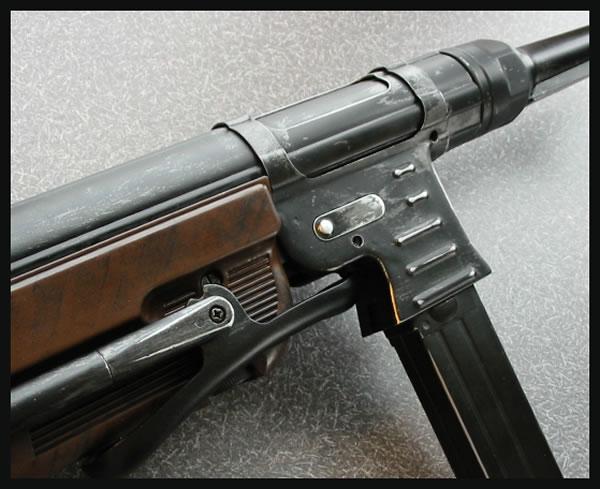
Photo above: Right Side closeup -After-

Photo above: Left Side -Before-
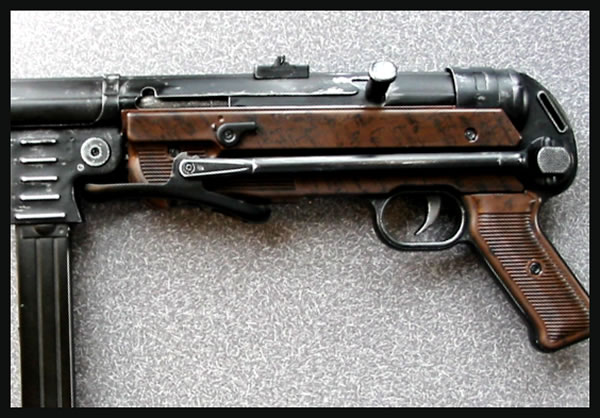
Photo above: Left Side -After-
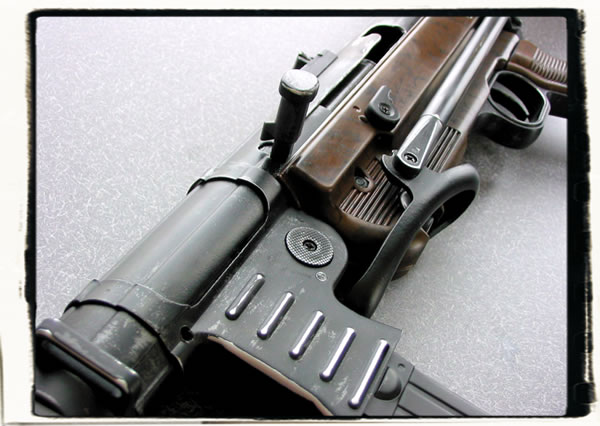
Photo above: Veteran MP40
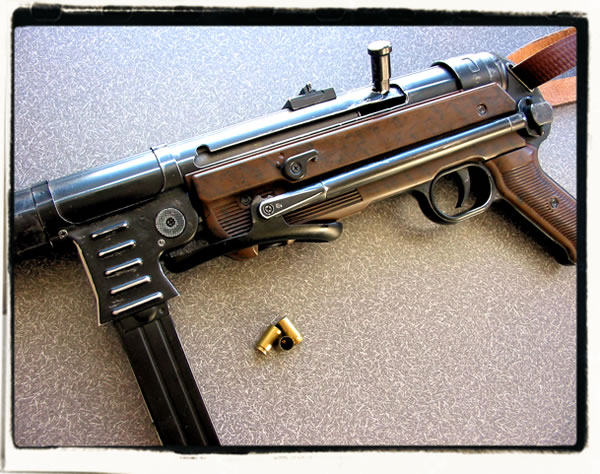
Photo above: Veteran MP40