Plan Beta I.C.U. 2.0 Tactical/Gun Camera
Master Chief
12 Jul 2016
Plan Beta is a company that released an airsoft action camera named the I.C.U. (Integrated Camcorder Unit) Tacticam. This, they claim, is the first video camera made specifically for airsoft. The first generation ICU Tacticam did not make a good impression to airsofters and reviewers so now they have released their 2.0 HD 720P and they've sent us a sample with the gen 1 camera to review.
FIRST IMPRESSIONS
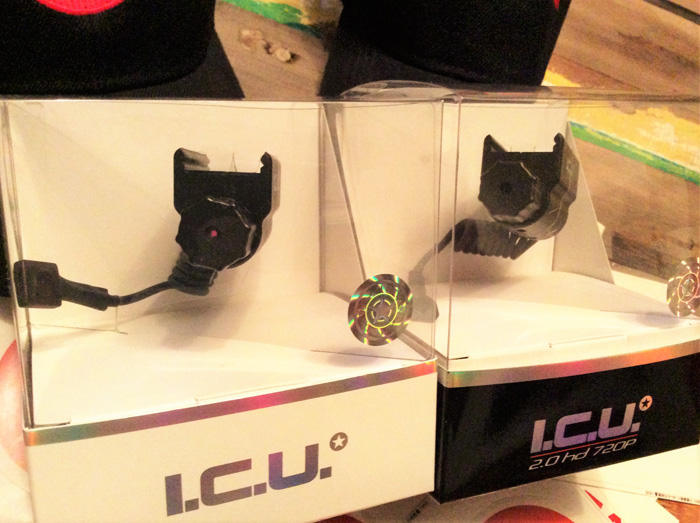
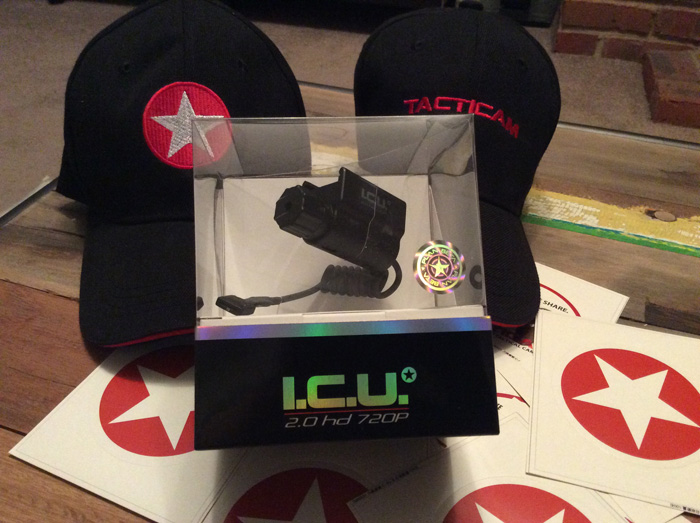
Both cameras are packaged really well with clear hard plastic casing, the cameras are held properly in place and make them look like they are floating inside the box. The gen 1 camera comes in a white packaging and the new gen2 HD camera comes in a black packaging and clearly labeled as the “2.0 HD 720P” version.
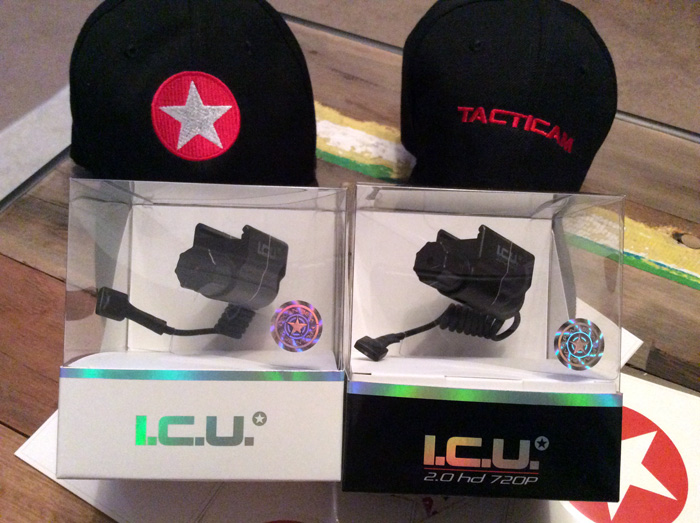
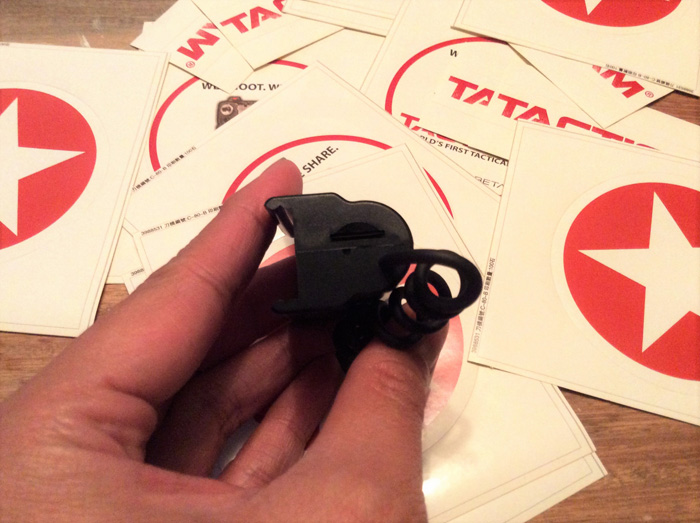
Inside the box you will get the camera unit, user manual, charging wire, and an elastic band to hold the switch.
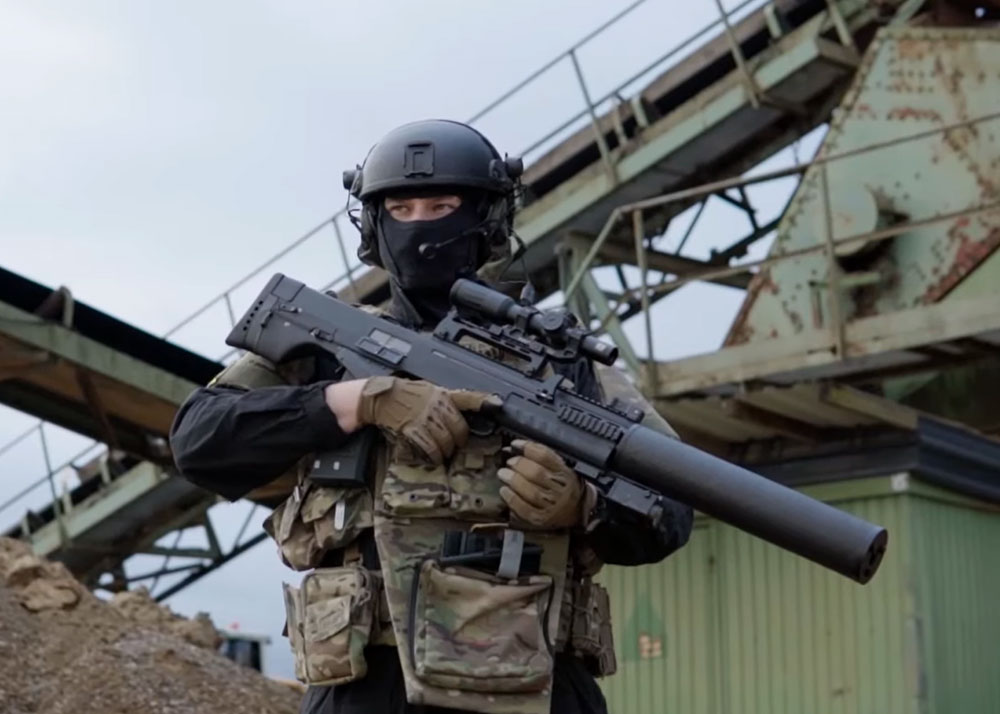
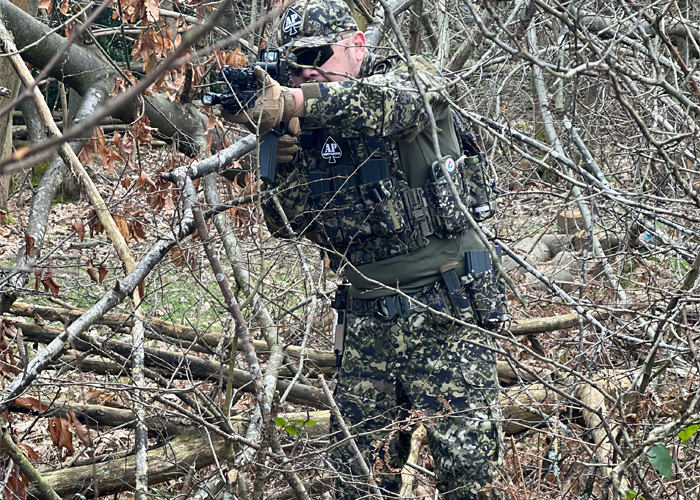
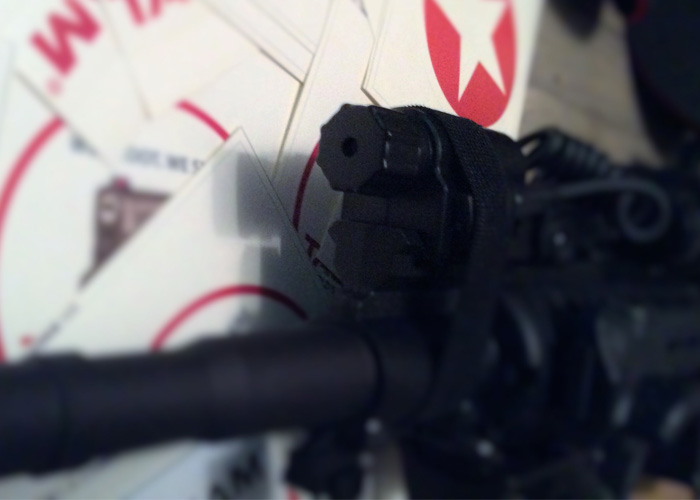
The cameras are, I would say, disguised to look like a laser sight. Plan Beta have been marketing this as an airsoft cheat catcher camera hence I think is the reason for disguising the camera to look like a laser sight. One thing I can say about this design is that it does blend with the RIF that I have attached them to and unless you tell other players that it is a camera, they will always think it a laser.

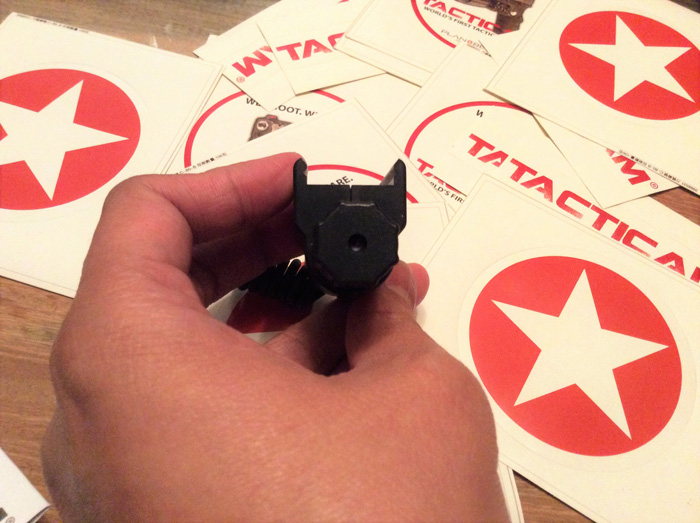
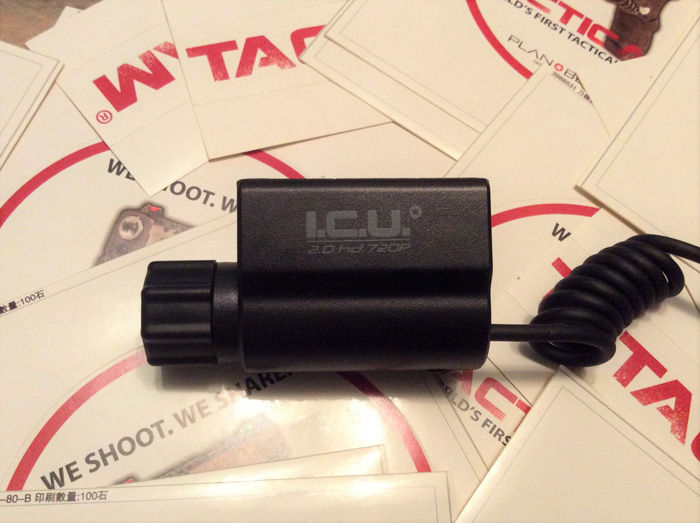
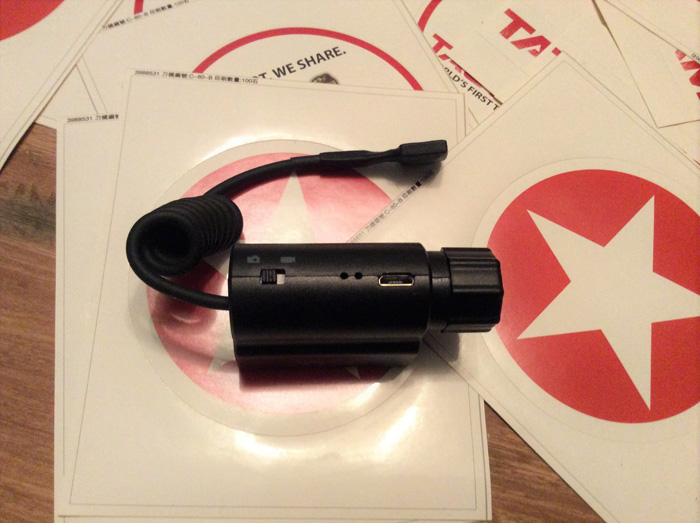
The build quality of both cameras is good although the newer HD version has a more expensive and better quality feel to it. Both are enclosed in black plastic housing which I was told can take a BB hit of up to 2 joules which is between 460 to 465fps using 0.20gram BBs. So quite impressive I would think.
The user manual explains everything you need to know in order to operate the camera. I would recommend reading the instructions as I should have before trying to use the camera in a game. The only thing I couldn't find in the user manual is how to replace the batteries which looks like you cannot so we will need to look into that as that would be quite a waste when the batteries start to fail to hold their charge and need replacing.
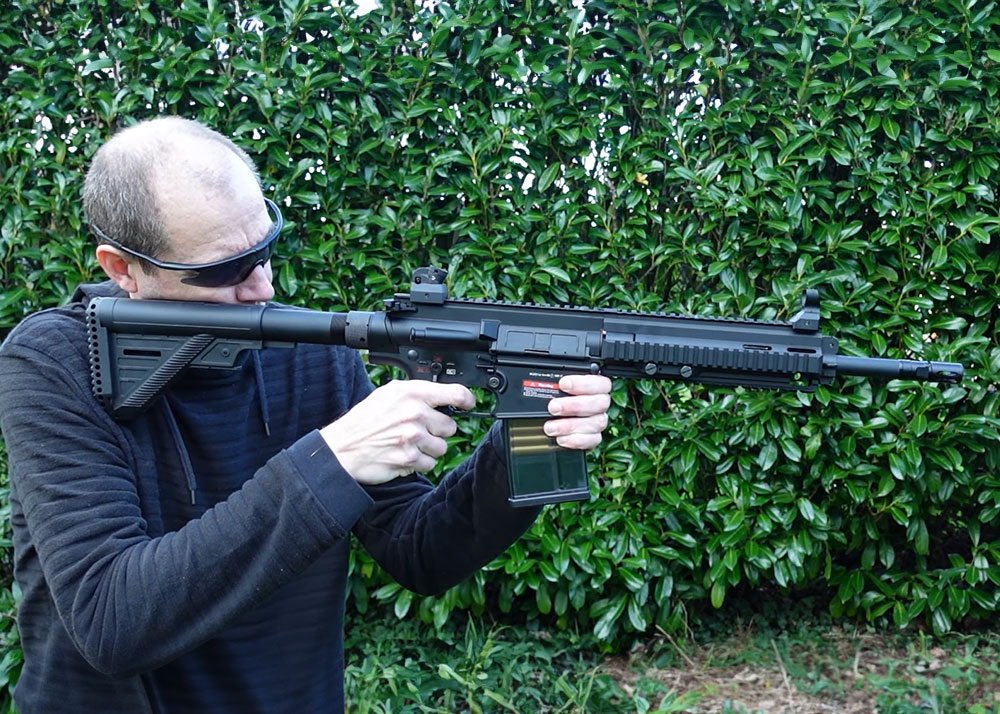
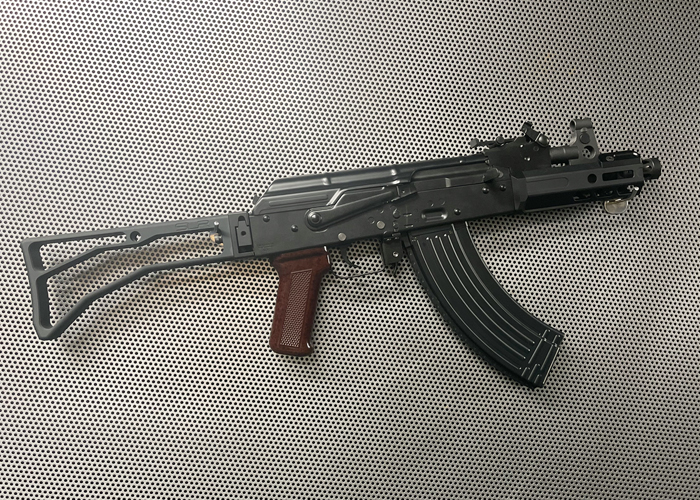
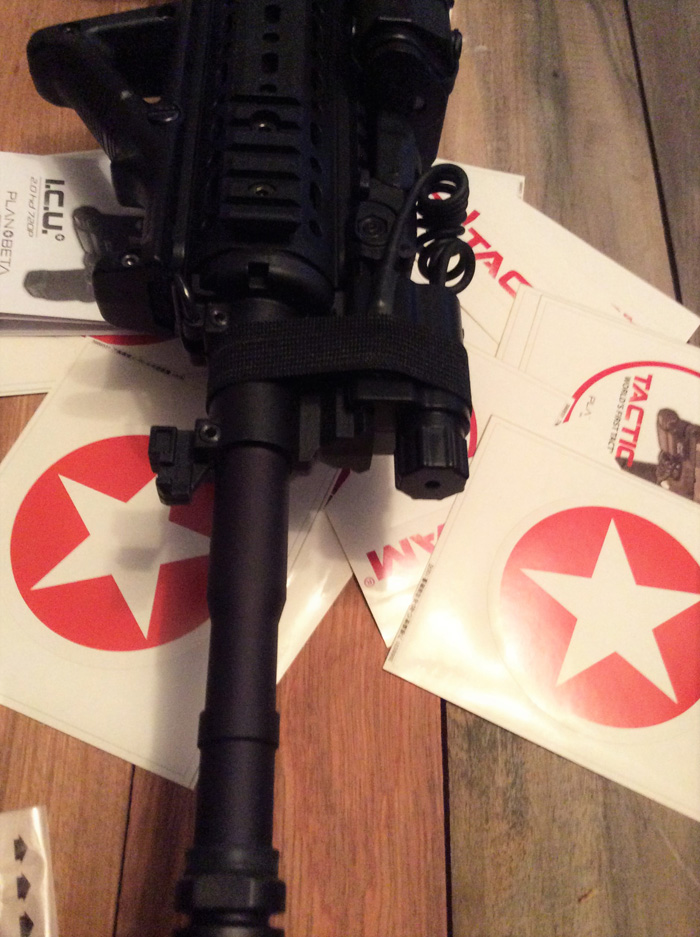
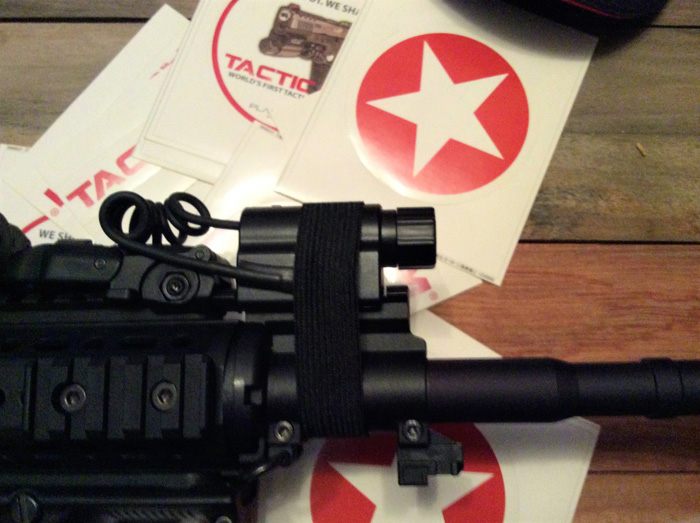
The Gen 1 camera is preferably mounted at the bottom rail of your RIF. I'm sure you can still mount it on the sides and top rails if you have good video editing software that can flip the video to the correct orientation. The Gen 2 however has a 180° sensor which automatically flips the video recording when the camera is mounted on the top rail. It does not, however, say about mounting it sideways.
OPERATION
To operate both cameras, you will need a micro SD card which is not included in the package. This slots in at the rear of the camera housing. At the bottom of the camera is where the video and still shots or picture mode switch is located. Also, there is a charging slot. I would advice that you charge your cameras before first use. Just connect the charging wire to the camera and plug it to USB power source. Indicator lights will tell you when the camera is fully charged.
Both cameras have the feature of recording a video or taking a picture. Just flick the switch to the desired mode and off you go.
To record a video, turn the camera on by pressing the pressure switch until the green light turns on. Then press the pressure switch again until the green light starts blinking. This means the camera is recording. To take photos, flick the switch to camera mode. Each time the pressure switch is pressed a photo is taken. The gen 2 on the other hand has a burst mode feature by pressing the pressure switch longer.
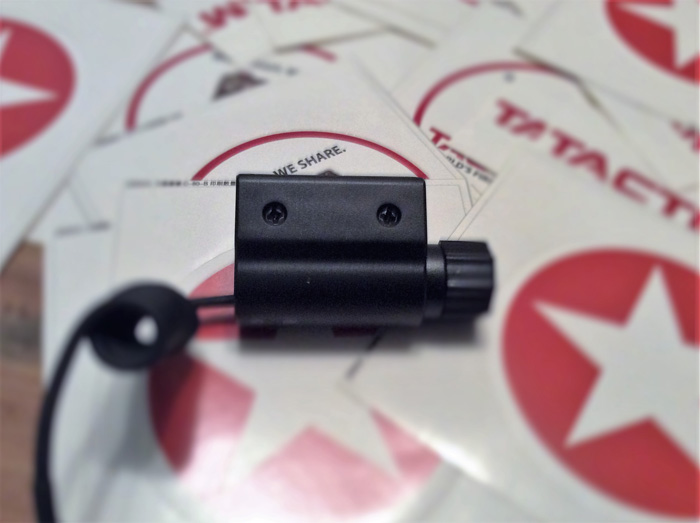
The camera should fit most rail systems. There are two screws located on the side of the camera housing and loosening them makes it easier to clip the camera on the rail. Be careful, when you loosen these screws as the whole housing seems to be held by them. If you get a wobble or your rifle doesn't have a rail system, you can always rely on a nice length of tape. I have attached the Gen 2 to the top has block rail of my M4 and it fits okay with just a very little wobble.
Make sure that the camera is charged before use. Both Gen 1 and Gen 2 tacticams hold good battery life. Also please read the instructions carefully to make sure that your camera is on and recording. The touch pad on both cameras is what I call touch and go with the way it works. You can't just press it and assume it is on and recording. You will need to look at the pilot lights to make sure that the function you have chosen is actually on.
Both cameras have decent video clarity on good outdoors lighting with the Gen 2 obviously having a higher quality resolution being 720p HD. The sound quality sounds quite muffled on the Gen 1 and although the video quality is not that bad, the video goes grainy white and jittery when you make sudden movements.
The gen 2's 180° sensor which flips the orientation automatically is very useful as you don't need to do this manually. Both cameras are, in my opinion, best used on RIFs that have little or no recoil as the movement of the recoil or blowback causes jitter on the video footage taken as they don’t have in-camera image stabilization. Also, it is worth remembering that you have a camera at the end of your gun or rifle or else all what you will get is a lot at wasted video of your shoes or the floor as shown in the unedited footage below:
The cameras also have the option of taking stills. There is a switch on the underside of the housing where you can chose to use the photo or video mode. Again, make sure you read the instructions on how this is done to avoid any disappointments.
CONCLUSION
Both cameras will work well in good outdoor lighting. The videos that I have seen online which say about the bad grainy quality of the gen1 are mostly taken indoors with very poor lighting where in even the more expensive video cameras will have difficulty taking good quality videos. The Gen 2 has superior quality video than the gen1 (which is 1280 x 960 Ultra VGA) and can be mounted either on the top or button rail. Nothing is mentioned about mounting them on side rails but I think it can be done as long as the video editing software that you will use will allow you to correct the orientation of the footage.
One thing that I do not like with these is the gap where the rail attaches to have two bumps where the screws go through. It is a problem when you need to attach them to flat rails like those on pistols as they will not mount properly on them.
So if you are looking for low cost video camera that is purpose built for airsoft then the ICU Tacticam 720p HD is the camera for you. It is robust and takes fairly good enough quality videos. I find the quality on the gen2 is decent and is footage is compatible to be used with most, if not all, video editing software.