Heart Transplant / Installing a High Torque Gearbox
Dom
24 Nov 2008
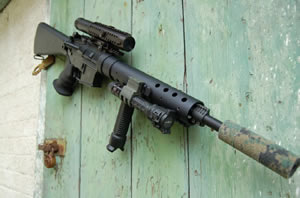
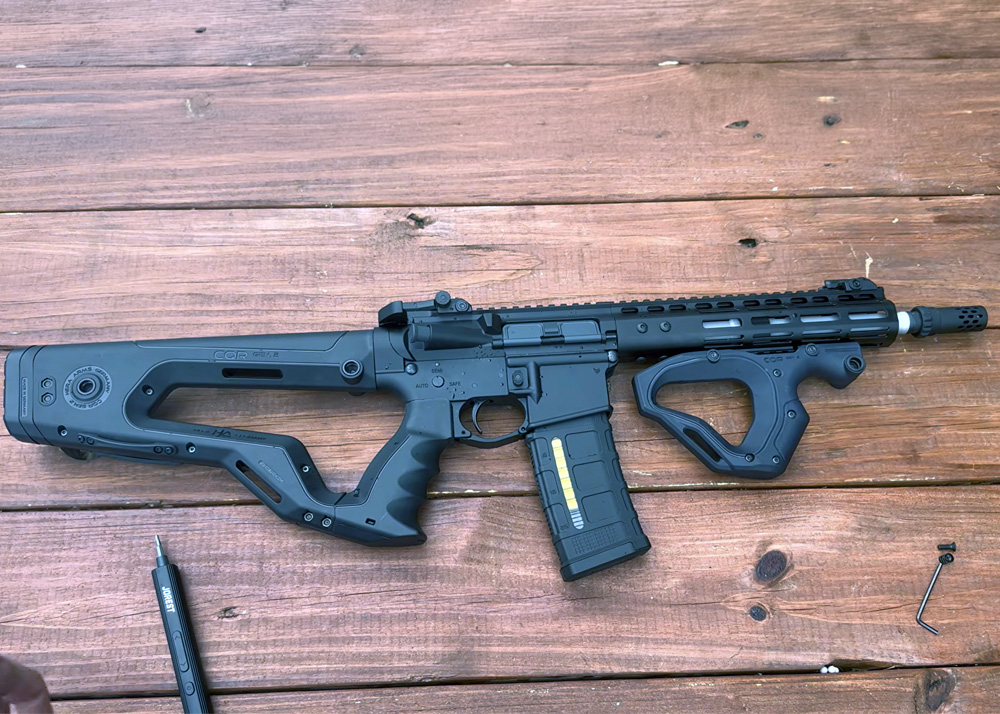
Disclaimer: This is not recommended for players in countries that have lower legal fps limits. You may have to downgrade the spring in doing this DIY. Do this at your own risk. Did you ever wanted a sniper-like weapon without buying a gas or spring rifle you don’t know anything about? This is exactly how I felt when I decided to upgrade my M15 SPR with a high torque gearbox. My CA SPR is a great AEG but its power after upgrades (400fps after installing a 120 spring and new piston) is too much for CQC but not enough for sniping.
The SPR was made to deliver precision shots anyway plus the barrel length is not ideal for “Major League Door-Kickers” so the only way is up.
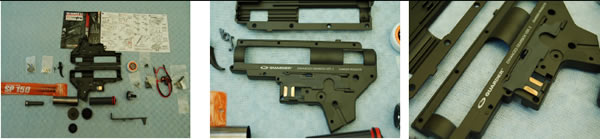
I’ve decided to get a full gearbox instead of buying all the parts one by one. I know that a full gearbox is expensive but it’s still cheaper than an upgraded gas or spring sniper rifle plus having this will give me the option later to go back with the old gearbox whenever I want or in case something goes wrong. To change a full gearbox only takes about 30 minutes for an experienced person and it can be performed on the field (I am talking about Version 2 here). It also took me about 30 minutes to pick the right gearbox: Guarder. Their full torque gearbox comes with complete internals with the exception of the spring so I had to get an SP150 to make the gearbox fully complete. It comes disassembled (only the selector plate is pre mounted) so you need some experience with Version 2 gearbox to put it together without issues. It has a one page manual with some English text on it for guidance.
I was shocked when I opened the box. The quality of the materials used are amazing. I am used to the CA and ACM gearboxes so this view was pretty new to me. I’ve asked for some support from Attila since this was my first helical gear set to assemble and I knew that I surely need some help with the SP150.
I’ve started the whole thing with the switch assembly and wiring. These steps are well detailed in the manual in case you are not sure how to bring the wires around the gearbox. Installed the trigger too just to verify that it works but I knew that I won’t need it for a while so I took it right out. Next up is to lubricate the following parts: cylinder, piston, O-ring, gears, bearings and the other small moving parts. A decent amount of Teflon grease comes with the gearbox and that’s what I used during my work.
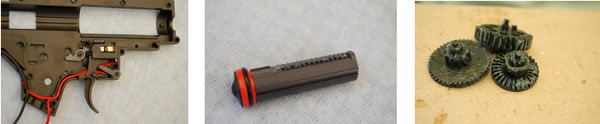
The shim set comes with the box is enough if you’re lucky but I am not one of those guys. Firstly, I put the shims where the manual told me to but the gears were not moving at all when I temporarily closed the box without the piston and reversal latch. There is not much room in this gearbox to play with and the helical gear set makes it even harder to shim this box correctly. This is where the experience and patience comes in. It took us two and a half hours to make it work and we went through a bag full of shims to find the right ones.
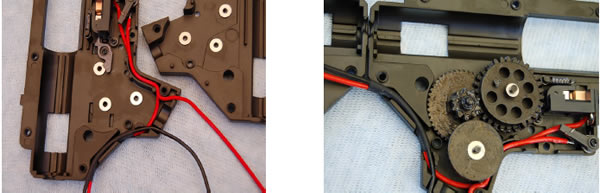
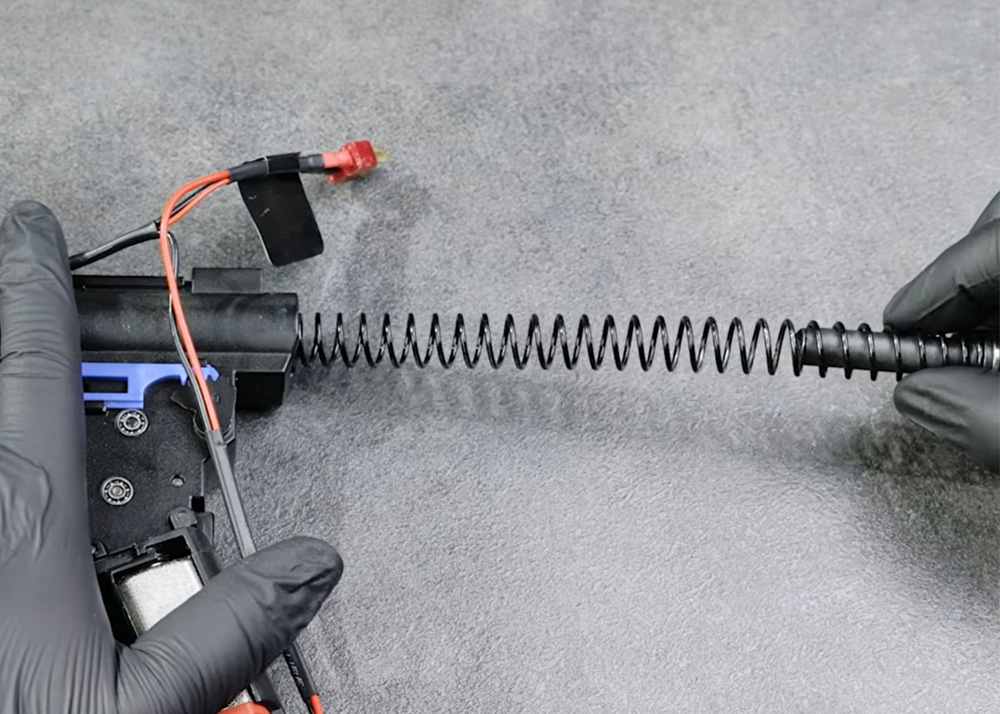
All I had to do after a small break is to put in the cylinder/piston with the tappet plate, trigger and anti reversal latch. The last thing was the big fight with that SP150 and to close the cover which I realised is the only problem with this gearbox. The holes on the gearbox are not threaded and it is really hard to drive them in especially when a strong spring is trying to push the cover up and your fingers are covered with grease. This could be avoided by driving the screws in before starting the assembly but we managed to get it done as you can see on the pictures.

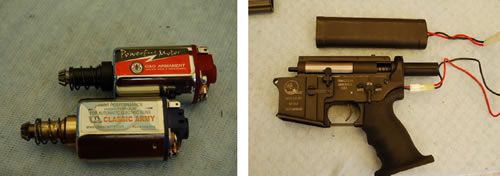
My CA SPR came with a so called “high performance motor” but I figured that this is only relatively high performance compared to weaker CA motors. I knew that I will need a strong motor for this job so I ordered a G&G motor. I figured that the guys in Taiwan probably know how to make powerful electro motors and I was right, it is powerful. It was funny when the magnet picked up a bunch of screws and Allen wrenches when I moved it left and right on the desk.
At that time I only had a 9.6 2.2A battery to test it with but I know that this thing needs juice so I am planning to feed it with 3A battery later. The smaller battery did the job for me. It was enough to spend about 400 rounds.
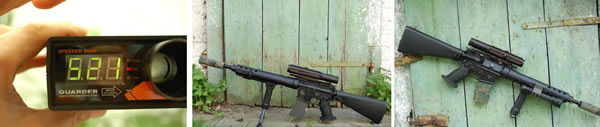
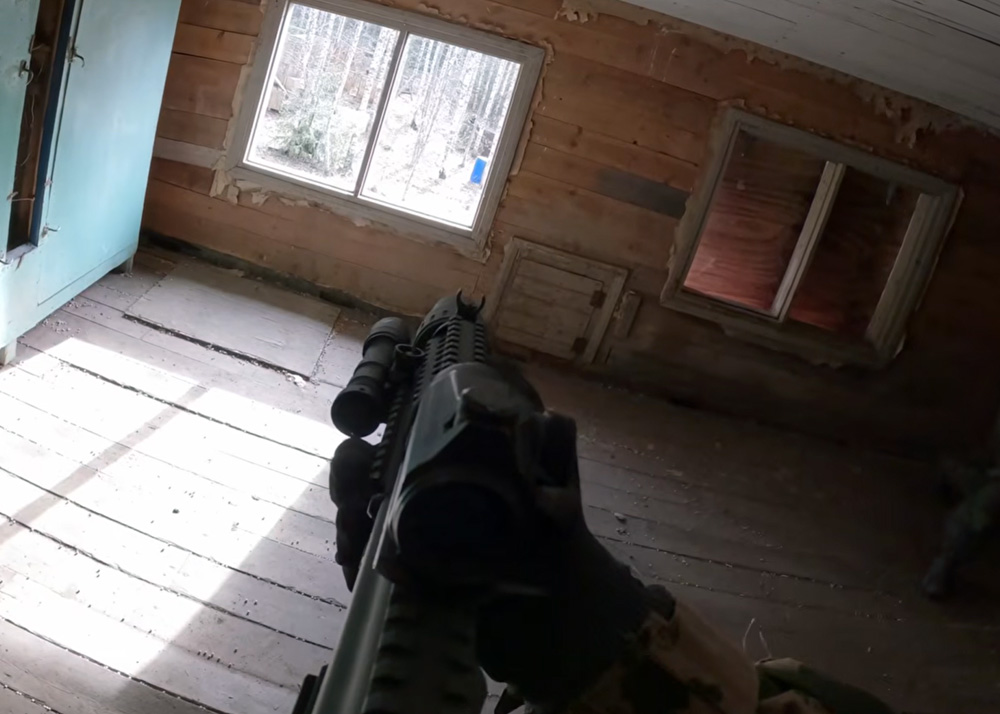
First I’ve tried a 600mm long 6.03 inner barrel but it was too tight for the Blaster ammo so I ended up using the old 510mm 6.04 barrel. I will try to put the longer barrel back as soon as I can get some precision ammo. The current set-up with the 0.30 Blaster gave me about 5” grouping at 30 meters which is not a bad thing. I am pretty sure that I can make this better with a longer barrel and better ammo. The chrono results: 420fps with 0.3; 480 with 0.25 and 520-530fps using 0.20 Blaster. I think I will end up using 0.28 ammo with this rifle but I will not be able to utilize it successfully until I find the right one. I will need to learn and adopt new tactics too so I am long way from home but now at least I can try. Based on my calculations and physical location, this project was a little bit cheaper than buying and upgrading a decent sniper rifle (gas or spring). I am aware that my AEG will never be as precise as an L96 for example but it is close enough for me.